Subscribe to get Weekly delicious and simple recipes to your inbox
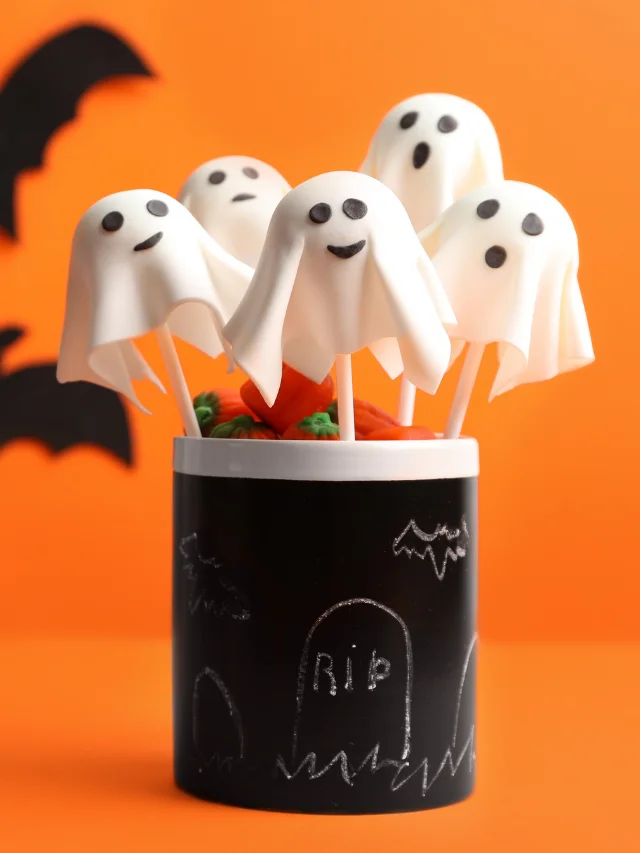
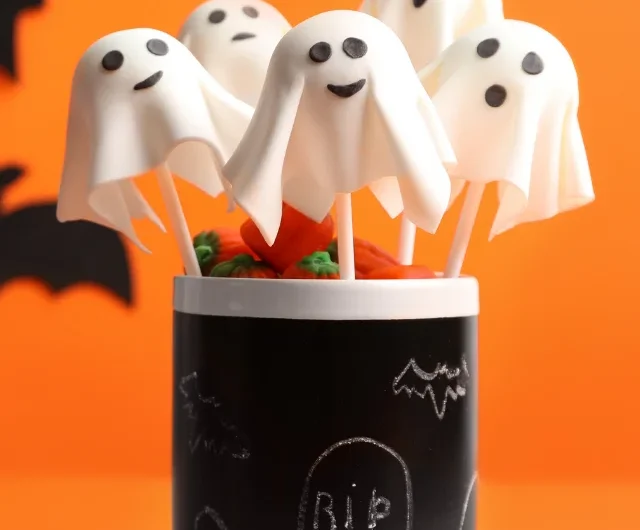
Halloween Cake Pops
Specifically, Ghost Cake Pops.
Let’s set the scene: It’s 7:43 p.m. The dishwasher is running, but somehow every counter still looks like a frosting explosion. Halloween Cake Pops are definitely not on the agenda — and yet, somehow, they’re about to happen.
The kids are finally (allegedly) in bed, one is shouting “I’m thirsty!” for the 12th time, and you’re debating whether to pour another glass of wine or eat what’s left of the Halloween candy stash.
And that’s when I saw them — the untouched box of cake mix and a half-empty bag of white chocolate chips. “Perfect,” I thought. “Let’s make something cute and spooky that’ll make the chaos look intentional.”
Because sometimes, mama just needs to create something adorable, sugar-filled, and only slightly haunting to remind herself she’s got this.
Why You’ll Love These Halloween Cake Pops
These little guys are the perfect blend of Pinterest-worthy and realistic-for-a-tired-parent. You don’t need bakery-level skills, just a willingness to embrace the mess.
Halloween cake pops are basically your ticket to looking like you’ve got your life together (even if your kitchen looks like a ghost sneezed powdered sugar all over it).
They’re great for:
- School parties (where the sign-up sheet guilt-tripped you into “bringing something fun”)
- Halloween gatherings
- Or those “we forgot tomorrow is spirit day” nights
Ingredients:
(a.k.a. the stuff already in your pantry or a short Target run away)
- 1 box of cake mix (any flavor your tiny humans will eat)
- Ingredients listed on the box (usually eggs, oil, and water)
- 1 tub of frosting (store-bought because we’re not auditioning for The Great British Bake Off)
- 2 cups white chocolate chips or candy melts
- Lollipop sticks
- Mini chocolate chips or black decorating gel for ghost faces
Kitchen Equipment Needed
- Baking sheet
- Mixing bowl
- Spoon or cookie scoop
- Lollipop sticks (or toothpicks/short straws)
- Microwave-safe bowl for melting chocolate
- Fridge for chilling
How to Make Cake Pops
Step 1:
Bake the cake! Follow the directions on the box. You got this, chef.
Step 2:
Destroy the cake (intentionally)! Once it cools, crumble the cake into a large bowl. Add a few spoonfuls of frosting and mix until it feels like Play-Doh.
Step 3:
Roll into balls! Use your hands or a cookie scoop to shape your cake pop balls. Chill them in the fridge for about 30 minutes — or longer if you need a moment of silence.
Step 4:
Attach the sticks! Melt a little of your white chocolate, dip each stick’s tip, and poke it into a cake ball. This keeps them from sliding off like a ghost fleeing a haunted house.
Step 5:
Coat in white chocolate. Dip each ball fully, letting the extra drip off. Before they dry, tap the stick gently to smooth the coating.
Step 6:
Add the ghostly details. Use mini chocolate chips or black gel to make little ghost faces. Let them set until firm — or pop them in the fridge for faster results.
What to Serve With Halloween Cake Pops
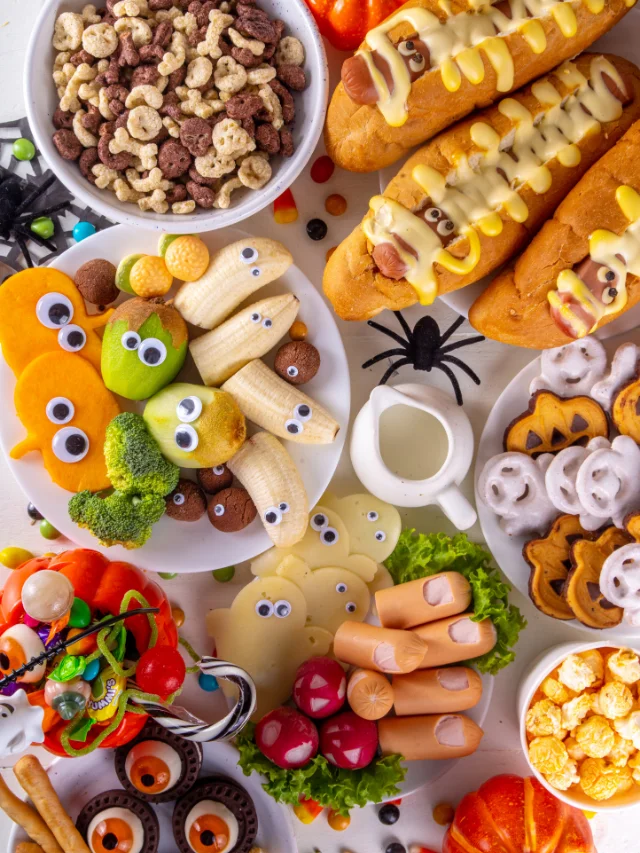
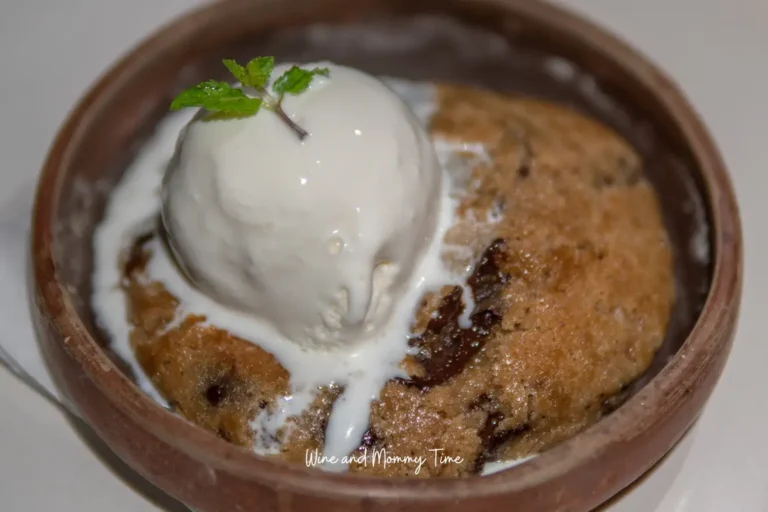
Pair these spooky Ghost Cake Pops with a creamy Grapico Ice Cream, a fresh and colorful Fruit Salad, or a fun, grown-up twist like a Kiwi Martini. These pairings turn a simple Halloween treat into a festive, full-on dessert experience that’s playful, indulgent, and perfect for parties or cozy family nights.
Mom-Style Tips (a.k.a. Real Talk)
- Shortcut: Buy pre-made donut holes, dip, and decorate. Nobody will know.
- No lollipop sticks? Use toothpicks, straws, or just skip it and call them “ghost truffles.”
- Melting drama? If your white chocolate gets clumpy, stir in a little coconut oil to smooth it out.
- Need inspo? Search “halloween cake pops ideas” for more fun shapes — mummies, pumpkins, monsters, or even black cats.
And if anyone asks how you came up with these adorable cake pops designs, just wink and say, “Oh, you know… inspiration struck between bedtime tantrums.”
FAQ:
Can I use pre-made cake balls instead of baking from scratch?
Yes! Pre-made donut holes or cake balls work perfectly — just dip and decorate.
Can I use chocolate instead of white chocolate?
Absolutely! Milk or dark chocolate can be used for coating and decorating.
What if I don’t have lollipop sticks?
Use toothpicks, straws, or simply skip them and call them “ghost truffles.”
Can these be made ahead of time?
Yes! Cake pops can be stored in the fridge for a couple of days or frozen for longer-term use.
How do I fix clumpy chocolate?
Add a small amount of coconut oil while melting to smooth it out.
The Real Magic
These ghost cake pops aren’t just cute — they’re little bites of sanity. Because for every wild school pickup, spilled juice box, or bedtime meltdown, there’s something deeply healing about dipping a cake ball into melted chocolate and pretending it’s therapy.
So here’s to Halloween cake pops — the edible reminder that even when life’s a haunted mess, we can still make something sweet out of it.
Now go ahead, mama. Pour that wine, grab a pop, and take a victory bite. You survived another day.
Halloween Cake Pops
Course: DessertCuisine: Halloween PartyDifficulty: MediumServings
12
servingsPrep time
24
minutesChill time
30
minutesCalories
180
kcalTotal time
55
minutes A fun, kid-friendly recipe, these Halloween Cake Pops are quick, adorable, and perfect for spooky celebrations. Easy to make, festive, and a hit with kids and adults alike.
Ingredients
1 baked cake (any flavor — chocolate or vanilla works great)
½ cup frosting (store-bought or homemade)
1 bag white candy melts (or white chocolate)
Mini chocolate chips or black icing (for eyes)
12 cake pop sticks
Directions
- Bake the cake! Follow the directions on the box.
- Destroy the cake! Once it cools, crumble the cake into a large bowl. Add a few spoonfuls of frosting and mix until it feels like Play-Doh.
- Roll into balls! Use your hands or a cookie scoop to shape your cake pop balls. Chill them in the fridge for about 30 minutes
- Attach the sticks! Melt a little of your white chocolate, dip each stick’s tip, and poke it into a cake ball. This keeps them from sliding off
- Coat in white chocolate. Dip each ball fully, letting the extra drip off. Before they dry, tap the stick gently to smooth the coating.
- Add the ghostly details. Use mini chocolate chips or black gel to make little ghost faces. Let them set until firm — or pop them in the fridge for faster results.
Notes
- 1. If the coating is too thick, stir in 1 tsp coconut oil or vegetable oil for smoother dipping.
2. Store pops in an airtight container in the fridge for up to 4 days.
3. Great for kids’ parties or spooky classroom treats!